
Procedure: Refreshing Stale Content
It is imperative that you eliminate stale content from your web site for several reasons. First and foremost, the presence of fresh content enhances Search Engine Optimization (SEO) and, in turn, increases site traffic, or page views. Second, the procedures for eliminating stale content help refresh your memory about the entirety of the information you have out on the Internet. Third, web content is never perfect or complete, so working through this process helps you to catch and correct problems as basic as spelling and broken links or as complex as adding metadata for improved accessibility. Following is the procedure for locating and eliminating stale content:
Pulling Stale Content Report
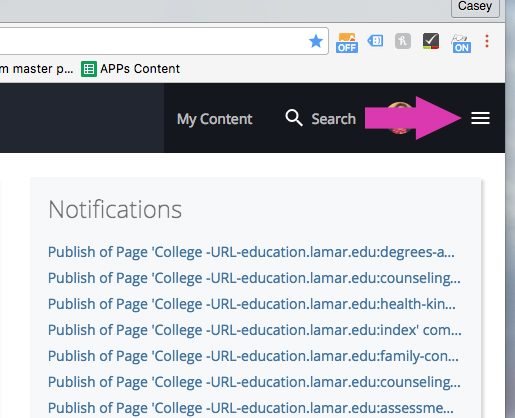
Your CMS dashboard may already show a “Stale Content” widget; however, you can easily access a filterable stale content report by clicking the hamburger menu at the top-right corner of your dashboard and then clicking “Reports.”
You'll get a list that looks like this. Click “Stale Content.” The initial report you see is of all of the content in every folder on the web site to which you have access. You may look at the content as a whole or in segments by filtering down to a specific folder. To filter, click “Filter Results” near the top-left corner (see next screen shot).
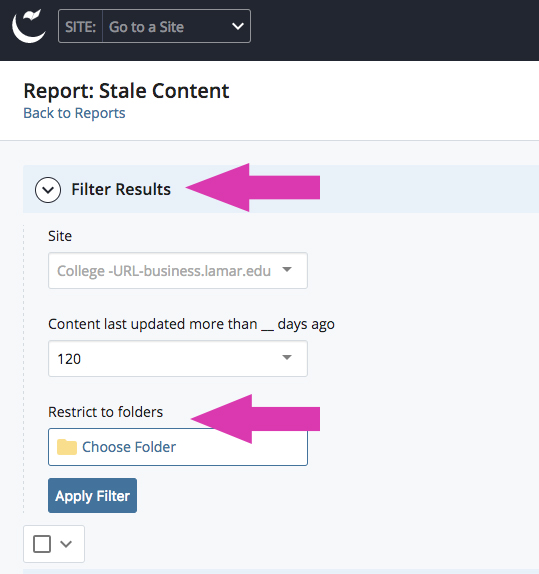
IMPORTANT: Because our web policy requires that you update your static content* each January, May, and September, we recommend that you set your stale content “net” for 120 days. This means that your report will show pages in your site that have not been touched in approximately the last four months.
*Static content is that which rarely changes. Remember that dynamic (dated) content must change immediately as dates expire. If needed, refer to 3.10 - Content Relevancy and Currency.
Exporting Report to .csv
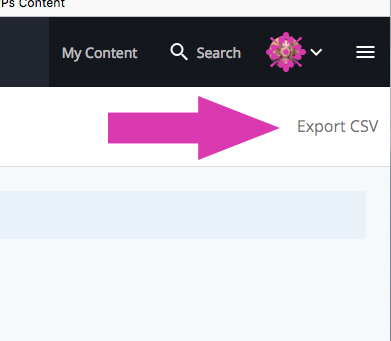 Once you are looking at the desired list of stale assets in your site, begin systematically opening each one: this includes pages, blocks, images, and any other type of asset your site may contain. If you would like a checklist that you can mark off or make notes on (we especially recommend this if your site is very large), you may export the report to a .csv file.
In order to bring the all of your assets current, or to change them from stale to fresh, you must:
- open the asset for editing (merely looking at the content won’t refresh it)
- in edit mode, review the asset completely to either confirm that the content is still true or make corrections to bring it current (check all links, spelling, accessibility, and metadata)
- reset the review date in the asset for either January 1, May 1, or September 1, whichever comes next, or for dated content, set review date for the day of the event (See Appendix C - Procedure for Content Review Workflow)
- submit the asset to workflow (or publish it if you have publishing privileges)
- continue refreshing assets in this way until your stale content list is empty up to 120 days
Perform Stale Content Checks Often
We realize that initially, this may be a time-consuming effort; however, once you have performed this procedure and it becomes a matter of routine, then subsequent content updates will assuredly be simpler.
Please contact us if you have questions or need our assistance as you implement this procedure into your web routine. For this and other web content issues, you may reach Casey Ford, Digital Content Editor, by email at casey.ford@lamar.edu or by phone at 409-880-8438. Thank you for the vital role you play in keeping our web sites as effective as possible.